…in celebration and contemplation…

And so we meet, 35

IMG_3587

I do like birthdays.  Traditions in my family have been the birthday person gets to choose dinner (home-cooked or restaurant), and there’s cake and ice cream.  Unless it’s an ice cream cake.  And I’ve had some wicked awesome birthdays.  One of my favorite cakes was a graveyard cake (my birthday’s in October and I LUUUUURVE Halloween/Samhain).  And one of my favorite birthdays was my 20th, when my boyfriend (now-husband) had all my favorite dishes made, along with cake, ice cream, and sparkling cider.

IMG_3599

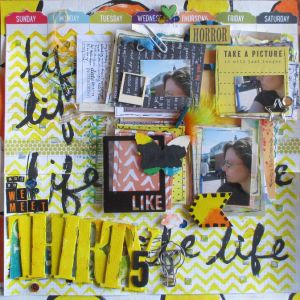
Certain birthdays have definitely gotten my attention, like turning 25 and turning 30.  Life didn’t go exactly as planned (when does it ever, right?), and recent events that have been brewing for awhile seemed to finally come to a bit of a head this time around.  I fell into the melancholoy for a bit, and art journaled about it (I’ll post that soon), and came to a conclusion of sorts.  So this layout is really about the good and the food for thought around my birthday.

IMG_3596

I used several stash papers as well as some Amy Tangerine.  My background is several layers.  First is a piece of patterned paper that I gessoed and painted over.  Then I grabbed some FP Me-ology and Amy Tangerine Cut & Paste paper (I’ve seen grid paper all over and I really love it!).  Cutting the FP and AT papers in half, I also cut off blue border around the FP paper, as well as the center graphic (it would be covered by other paper).  Then I adhered my half papers to my gessoed patterned paper and set about continuing the background work.

IMG_3515

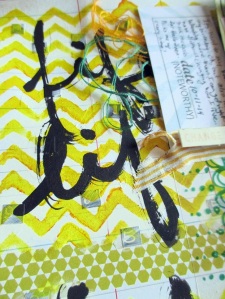
I took a page out of one of Donna Downey’s Inspiration Wednesday videos and grabbed some mini number stickers.  After putting a bunch of them on, I lightly layered gesso, then applied paint through a stencil.  Lastly I took a small brush and wrote “life” over and over (by the way, I like the graphic, brush script style letters/words too :D).

IMG_3595

IMG_3593

My four mini photo mat stacks were made with AT and stash papers.  I used my black Sharpie to doodle in spots.

IMG_3594

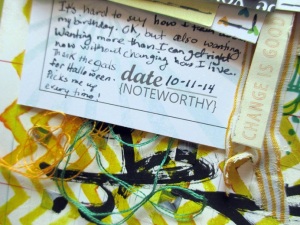
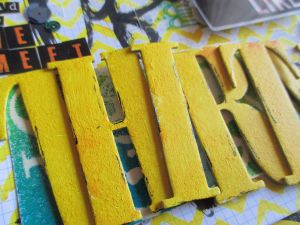
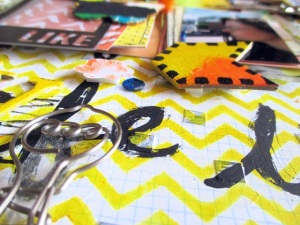
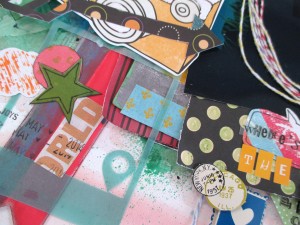
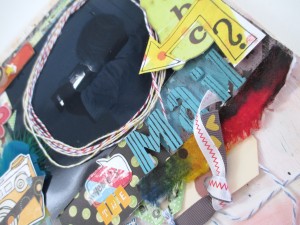
Also featured are an altered chipboard title and round frame, die-cut, fiber, thread, metal lightbulb clip, feathers, sequins, a transparency frame and border sticker, paperclips and a mini clothespin, and part of a PP canvas Halloween border sticker.  My journaling spot is the other half of a Glitz Design journaling card I used on my “Too cute” layout.

And now, some more close-ups 🙂
IMG_3592

IMG_3597

IMG_3588

IMG_3590

…playing with stamps and doodles…

…and markers, in short, just playing.

IMG_3065 - Edited (1)

“some days are okay, some days suck”

I can see nodding heads, you know what I’m talking about 🙂
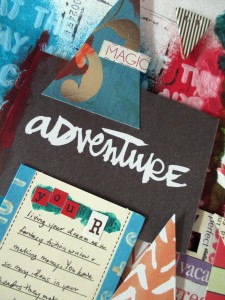
Here’s the background as a reminder, the asterisk was an aside from a previous spread.

IMG_2898

This is an Amy Tangerine die-cut frame with doodling, markers, and colored pens.  The envelope is mine, done freehand, and unintentional.  But I like it. That’s a cloud stamp with a yellow calligraphy marker.

IMG_3067 - Edited

Some stamped brackets (love my brackets), cloud stamp, and marker writing and doodling.

IMG_3066 - Edited

Blue dye ink pad with my cloud stamp, and doodles with sharpie pen, markers, and colored pens.

IMG_3068 - Edited

Doodled lightning bolt, red pen, and Amy Tangerine roller stamp.

IMG_3070 - Edited

Green dye ink stamped bracket, star washi tape, with doodling.  Letters were doodled and colored by hand.

IMG_3069 - Edited


Thanks for looking and happy scrapping!

Moleskine Art Journal…

IMG_3071

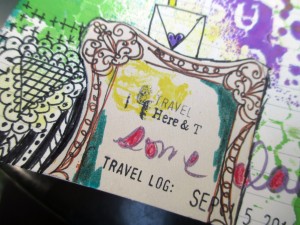
So following Ronda Palazzari’s artsy moleskine travel journal, I decided to make my own.  Since I’m working in the city (the Big Apple for those outside New York), my commute takes a bigger chunk out of my days.  Which means that it’s more important (for me, at least) to have some artsy fartsy time during the day, even if I’m not home.  I’m still working on a bag/container and just what I want to bring, but I followed Ronda’s initial instructions on making the journal itself.

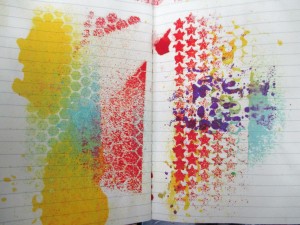
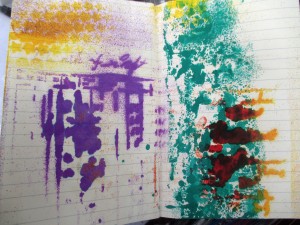
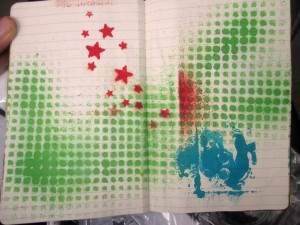
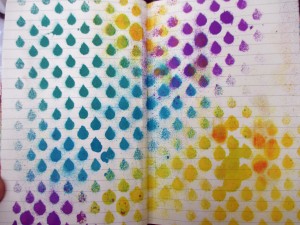
In a nutshell, I got a 3-pack of the black moleskine journals with lined pages (the small one, about the size of a passport), then proceeded to use my glue stick and glue every 3 pages together to make them sturdier.  After that, I grabbed my Dylusions sprays (I wanted bright, flat color, and they’re what I have in that department) and a bunch of different stencils (I kept to the small ones, mostly 6×6 and one small handmade Styrofoam).  Mostly TCW (including Julie Fei-Fan Balzer’s mini punchinella, and Ronda Palazzari’s Well-Rounded), a Heidi Swapp (chevron) and a Prima one (the raindrops).  And I started spraying 😛

IMG_2898

IMG_2900

I made sure to flip over the stencils and press them into another art journal.  Don’t want to waste any of that gorgeous color and awesome texture!

IMG_2901

IMG_2902

IMG_2903

IMG_2904

IMG_2905

Yeah, I started writing this one before the photos.  It’s a spread I did for the anniversary of 9/11 that I’ll post about later.

IMG_2907

IMG_2910

IMG_2911

IMG_2912

So I didn’t get to take a photo of my first page before I arted and journaled it all up, but it started with the blue and purple.  Everything else was added during a lunch break.

IMG_2896

I added some die-cuts I cut from patterned paper and a water-soluble crayon on the inside of an envelope.  I also stamped the border, asterisks, arrow, and Amy Tangerine roller stamp, along with an alpha stamp set.  Then I doodled with a black gel pen.

I’ll post more as I finish the spreads.  And feel free to ask any questions!  Happy scrapping!

…in love with fairy tales…

IMG_3129

…and my dear hubby.  So when I saw the September moodboard at Scrap Around the World, it immediately brought him to mind.

SATW Sept Moodboard

He’s a fabulous (yes, I’m biased, but I’m far from his only fan) fantasy fiction writer, published on Amazon Kindle (Charles E Yallowitz, http://www.legendsofwindemere.com).  He’s been creating stories since he was a kid, and he’s got this amazing creative imagination.  The old tomes made me think of some of his influences, including J.R.R. Tolkien and C.S. Lewis.  The exposed gears reminded me of his interesting injection of technology into his world (for anyone who’s read fantasy fiction, technology is not high on the list).  And I don’t do nearly enough scrapping about my hubby, so this was perfect.

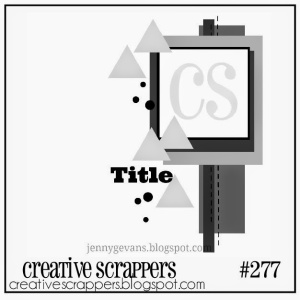
I also found this great sketch on Creative Scrappers and thought it’d be awesome.  I’d recently gotten some scrap goodies and wanted to play.

Creative Scrappers 277

I pulled out some old and new goodies for this layout.  I got some new papers from Amy Tangerine and Fancy Pants, as well as tons of other awesomeness.  My initial idea didn’t quite work out as planned, but it’s cool 🙂
IMG_3138

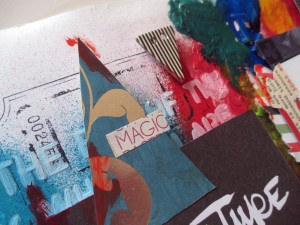
First I took some patterned paper I didn’t really like and flipped it to have a blank background to start.  Since my hubby’s a writer, and I had leftover alphas (who doesn’t, right?) I made three columns, the middle with old Thickers and the side with flat alpha stickers.  Then I covered them with gesso and stamped using a large rubber ticket stamp from Unity and Archival black stamp pad.  I gave the background a spritz with Dylusions Calpso Teal and Postbox Red.  Then I pained over the alphas with green, blue, and yellow paint.

IMG_3132

Didn’t quite go as planned, since Dylusions is water-reactive and mixed with the paint.  But, no worries.  I thought the background was a little too bright, so I grabbed a Dina Wakeley stencil and gessoed over everything but the painted letters.

IMG_3135

After that it was time to start layering.  Patterned paper, a kraft photo frame, other die-cuts and Amy Tangerine embellishments.  I used some older alphas, and a chipboard alpha that I had initially painted, but it was too light, so I wrapped it in washi tape.

IMG_3136

I also used washi tape on the sides of a journaling card and painted over the words and added more leftover alphas.  You can see I also added some paint smudges to help tie everything together.

IMG_3134

Thanks for looking and happy scrapping!  Feel free to ask any questions! 🙂

…trying new things with SDC 159…

…and liking the outcome so far.

First off, I will say this – I’m not a bow person.  I’m not a pink, frilly, glitter person.  I’ll add touches here and there, but I won’t go crazy.  So for the current Stampotique Designer’s Challenge is bows.  Yeah, I saw that and I’m thinking, what the heck can I make?  Granted I’ve got loads of ribbon and fabric, but I was stumped for a little bit.

Then I saw the first project by Gay Peplow, and loved it!  Not only did it inspire me for the album I’m making for some friends, but the laced ribbon also reminded me that a bow comes in many different forms.

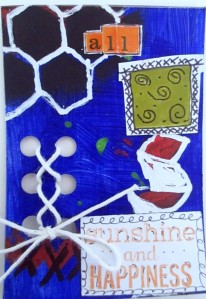
I’m experimenting with different sizes.  I’ve done layouts, cards, started delving into tags, and now ATCs.  I was making a canvas and had paint leftover, so onto a couple ATCs.  Here’s the one I’m entering into this challenge:

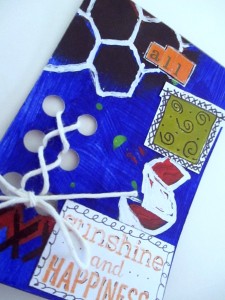
“All Sunshine and Happiness” (and a bit of snark :P)

IMG_2359

I started with some patterned paper I didn’t like and turned it over and covered it in the fabulous blue.  I also did some swipes/mark making with a deep orange, some neon yellow (they look green, which is fine) splatters, black paint through a HS honeycomb stencil and some doodling with black sharpie and white-out pen.  I’m not a huge flower person, but this is a funky, different sort of flower.  The flower bud is a pattern block stamp with black pen doodling around it (leftover from a previous project that was never used).  I added the alpha stickers and colored them orange, and outlined them with my white gelly roll pen.  The “sunshine and happiness” are from a stamp set that I stamped onto white cardstock (after checking it would fit) and cut it out, then doodled around the frame.  I also used my super fine point black Copic pen for the doodling.  For the lacing, I used one of the strings that come on those manila office tags, used my hole-punch, and laced it through.

IMG_2358

This will also be up for sale in my Etsy shop soon, so check it out!

Thanks for looking and happy scrapping!

…proud of me…

…for making a layout I really like when the color scheme was a real challenge.

Xpress Yourself

IMG_1126

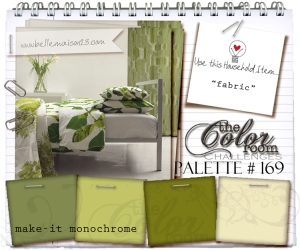
I prefer bright colors, so when I saw the new palette for The Color Room Palette # 169, I knew it’d be a challenge, mainly because it’s monochromatic.

TCR June

 I did, however, find a fair amount of the shades and made it work for me.  I also have a lot of photos from a Labor Day weekend when my son was about 15 months old.  When I saw the June Challenge for Once Upon a Sketch, things came together.

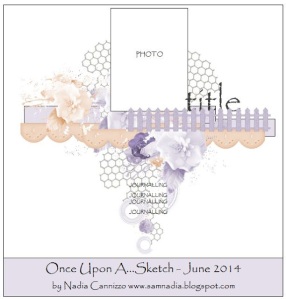
Once Upon a Sketch gives the following journaling prompt and sketch:
 
” the best things in life aren’t things”
Capture
So as I mentioned, I scoured my stash for olive tones, and I actually found a few, a good portion of it patterned paper, but I wanted to keep white as the main color.  At least half of my embellishments I made myself.  Triangles of patterned paper, stamped die-cuts, hand-drawn die-cuts, painted vellum (the green and black striped paper behind the photos), you get the picture.
IMG_1127
I really wanted to use some x’s that I’d cut out of patterned paper, so I attached them to green ribbon before gluing them to my layout.
IMG_1133
On the background, I used my black sharpie and honeycomb stencil in various spots.  I also took my green pigment stamp pad and brushed on some green, and tapped on some Tattered Angels Almost Black splatters.  The photos are a few from an impromptu photo shoot at Labor Day of 2010 (little guy was about 15 months and the weather was nice, so he was diaper baby :P)  The journaling is about my sister-in-law’s best friend, who had just gotten a new digital SLR and wanted to play with it, and my little guy was just fine being the subject of her photo shoot.  I love all the clear crisp photos of his different facial expressions.  Too cute and so him.  I actually had two copies of the far right photo, and accidentally got black ink splatters on the photo in the strip.  So I cut out the other one and popped it up on dimensional adhesive.
IMG_1128
I initially had a different title in mind, and had used green glitter glue on the letters.  I changed my title, but still stuck the letters on randomly.  A touch of shine 😛  I used chipboard letters from a MME Halloween alpha set.  The word “yourself” is made with Prima alpha stickers.  I also made some circle shapes with fabric glue and ribbon, and used Studio Calico journal stickers, along with Amy Tangerine die-cuts, white sequins, and a triangle border strip cut from fabric.  There’s a green vellum frame, a couple die-cut stickers from Simple Stories Documented, part of a paper doily with green ink smeared on it, even some hole punches with some doodling and a white feather (cuz I love feathers).
IMG_1136
Thanks for stopping by and happy scrapping!

…loving this sketch…

…and how my layout turned out.

rockin’ the scarf

IMG_1245

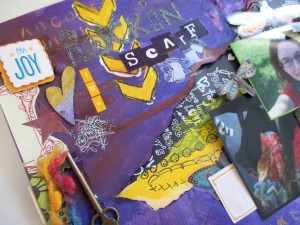
The top layer of paper began as white cardstock.  I’d drawn with my black sharpie and my Mini Bricks stencil, then added my homemade texture paste (a recipe I found on another blog) inside the stencilled bricks.  I then did some paint/pigment ink pad and stencil work , but it needed something more.  Then I attacked the paper with my mini mister with three different shades of purple and water and sprayed down the page.  Not enough color.  So I painted a deep purple directly onto the paper.  Better.

IMG_1254

It needed a little bit more punch.  Time to experiment.  I grabbed my Tattered Angels Rouge spray and just did one spritz, and really liked it.  So I added a bunch more along the side, let it drip a bit, then set it down to dry.  While that dried, I combined a large scrap of light yellow patterned paper from We R Memory Keepers and some black and white love graffiti paper and stuck them together in the opening of the top paper layer.  I made a triangle of paint to mesh the two a little more, then did some doodling.

IMG_1246

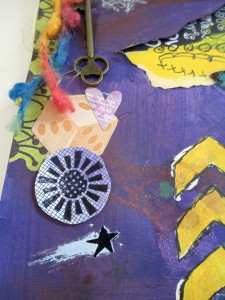
After the spray dried, I grabbed my paints and stencils.  I used an alphabet stencil and some yellow and orange paint mixed together in s couple spots.  Then I used white and (when the white was dry) yellow paint through a stencil to add my chevrons.  Once the paint was all dry, I used a think black American Crafts pen to outline the chevrons and the bricks.

IMG_1251

Then I added my photos, journaling and embellishments.  Among my embellishments are Amy Tangerine die-cuts and stickers (“Oh Joy”, frame on top left and under center photo), part of a Studio Calico  border sticker (green on left side), dragonfly transparent die-cuts from K&Co., black and white graffiti rub-ons (clearance from Michaels), made by me die-cut shapes (stars, heart, and sun in lower left corner), a Prima key and a mini red clothespin (dollar store, yeah, seriously :P).  I also put my journaling on a tag and popped it up on dimensional adhesive (along with a few corners of my photos) after adding a few embellishments.  I also tucked some embroidery thread behind my top photo and dragonfly die-cut.  Initially I was going to stick with yellow, but saw yellow, black, and a deep purpley (is that a word?) shade that I snagged and put together.

IMG_1249

I’m entering this in these challenges:

Kreative Koncepts Sketch 26

Punky Scraps # 76

…playing in my art journal…

…and think I’m starting to get the hang of it.

IMG_1217

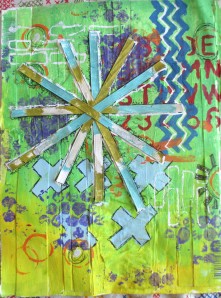
So I’d played around with some ribbon and paint awhile ago.  I never got around to using the ribbon, which had become stiff with the gesso and paint I’d added.  I had enough pieces to make an aserisk, and wanted to incorporate it into an art journal page.  And this is what I ended up with.

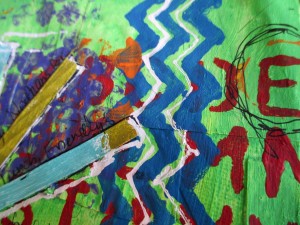
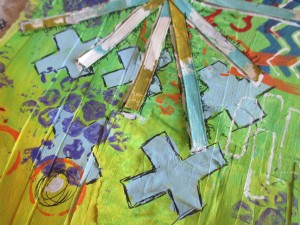
The background is a bunch of paper scraps modpodged to the page in my composition notebook.  Then I gessoed over the strips to start clean.  The background is light green and yellow paint with some water to spread it around and meld the two colors together.  I used my alphabet stencil with red paint, then used a nice blue with my chevron stencil.  I was fairly liberal with my bubble wrap “stamp” and the purple paint, and use light blue paint through my homemade cross/x stencil to make five x’s.

IMG_1218

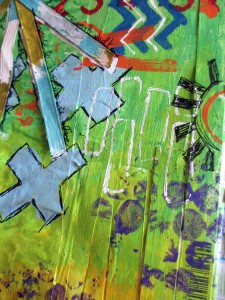
Also used was a cap from a carton of egg beaters (washed before using as a stamp, of course) and orange paint.  I used fabric glue to attach the ribbon strips, and did some journaling along the strips.  After that, I outlined the strips, and blue x’s, and scribbled inside some orange circles.

IMG_1222

As well as making a half sun around of the half orange circles.  Finally, I grabbed my white-out pen to add chevron lines in between the blue chevron, scribbled inside some orange circles and used my TCW Mini Bricks stencil in a couple spots.

IMG_1221


I’m entering this into the Simon Says Stamp Monday Challenge – Anything Goes

…back for show and tell…

… with my “Wheres the mail?” layout.

IMG_0704

This was my entry for a few challenges, which you can check out here.

I did A LOT of stuff with this page.  At first I used all my paint dabbers to make a polka dot pattern and then used the same dabbers and my distress stains to make thick stripes.  Well, I didn’t like the stripes, so I used gesso to cover them, as best I could.  At least the gesso toned it down, which helped.  Then I used some of my spray inks on the top to give a nice touch of color.  I normally don’t use 4 x 6 photos, but it’s the only size I could print at home, so I printed out two copies, then angled and layered them before matting them on several patterned papers from DCWV Rockstar, Amy Tangerine, We R Memory Keepers WhiteOut, and Simple Stories Documented.  I also had a leftover frame and striped patterned paper that I dyed with red Distress Stain.  I also used my yellow Distress Stain on some polka dot paper, then used stencils to make several die-cuts of stars, arrows, and circles.

IMG_0707

On the background I also layered different paper tapes and some ribbon, as well as adding some matte medium to attach a nest of different colored embroidery thread.  I had used my red and blue Distress Stain on two yellow polka dot flowers.  I’m not a big flower person, in a sense, so on a whim I trimmed off the tops of the petals, leaving me with a bunch of mini scallops and two pentagon shapes.  I laid out the petal tips to make a scalloped border (part of the sketch).  The red and blue paper ribbon is patterned paper that I applied Distress Stain to and had been sitting around.  So I added some stickers/embellishments and layered under a green vellum frame.

IMG_0708

I also added some twine in spots, as well as a couple embellishments from Amy Tangerine (love her stuff!).  The postage stamp is a sticker from Simple Stories Documented.  I had played with my sprays and liked it so much I cut out a square to cover the center of the stamp.  I had a polka dot die-cut circle that I stamped “etc.” onto and adhered it to my layout.  The yellow camera die-cut was yellow and pink, but I covered the pink with white paint, and added some feathers, and a die-cut arrow.  I also had a strip of white fabric with brown polka dots.  Once again playing with my Distress Stains, I made it into a rainbow piece under the photo.  I also used my striped cloud stamp with paint to make my cloud die-cuts.

IMG_0706

Phew!!  I think that’s everything 😛  This is what happens when you have a lot of varied supplies and play! 🙂  If you have a question about anything, let me know!

Thanks for looking and happy scrapping!

…showing off a yellow mini…

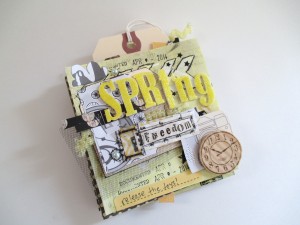
IMG_0457

Since my fave color is yellow…I tend to jump at the chance to do anything artsy/scrapbooking with the color.  Enter The Color Room April Palette 167 (Update: I missed the deadline by thatmuch…g&*%BH&).  As I’ve mentioned before, it’s a challenge for me to use browns in a layout.  Yes, I know, kraft paper, which totally rocks, but I still have issues.  Mainly because as I play more with my scrapbooking, I’m learning that I like bright colors, and I struggle with muted or vintage tones.

IMG_0455

Wood clock: Little Yellow Bicycle, fussy cut camera: Amy Tangerine paper, Amy Tangerine roller stamp

IMG_0458

IMG_0459                          IMG_0460

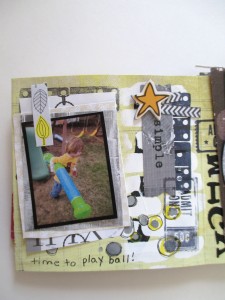
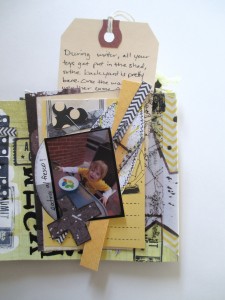
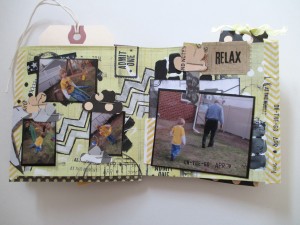
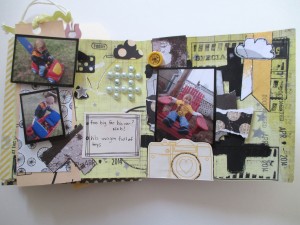
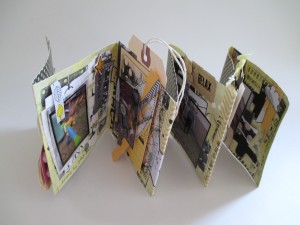
I had pulled out a background paper from Pink Paislee’s Honey Bee collection.  It was a muted shade of yellow ledger.  I’d been hoarding saving it, for something.  I decided I wanted to make it brighter yellow and use it as a base for a mini album about my little guy and the fun and joy he had when Grandpa was pulling out all the toys from the shed now that the weather is nice again (as I type this it’s raining outside, has been for the whole day ;P)

IMG_0461

IMG_0462                        IMG_0463

 I used a clothing tag, incidentally, from a recent shopping trip to get clothes for said little guy.  I covered the tag with the yellow chevron tape and tucked it under the photo of my little guy following Grandpa.  I tried my hand at some homemade stencils made from styrofoam food containers, then used them with black paint.  I used my other stencils (Heidi Swapp chevron, stars and circles and Crafter’s Workshop bricks) with white, gray, and black paint.  I used yellow and white chevron paper tape to cover the seams where I glued the three sections together.  I also used a bunch of stamps with my Archival Ink in Jet Black.

IMG_0464

IMG_0465                      IMG_0466

I used my yellow Zig Calligrapher pen to color the foam letter stickers (“spring”) and used Cosmo Cricket mini alpha stickers (“freedom”), along with Amy Tangerine papers, black mesh fabric, coordinating ribbons and embellishments, including Tim Holtz Film Strip Ribbon (tiny piece on the cover), a wood clock from Little Yellow Bicycle, a fussy cut camera from Amy Tangerine paper and staples.

 IMG_0467

IMG_0468

Thanks for looking and happy scrapping!